One image. One area. A new version.
Mark the part you want to change, describe the replacement, and the AI repaints just that spot — backgrounds, outfits, objects, text areas.
Start AI inpaintingRepaint one area in three steps
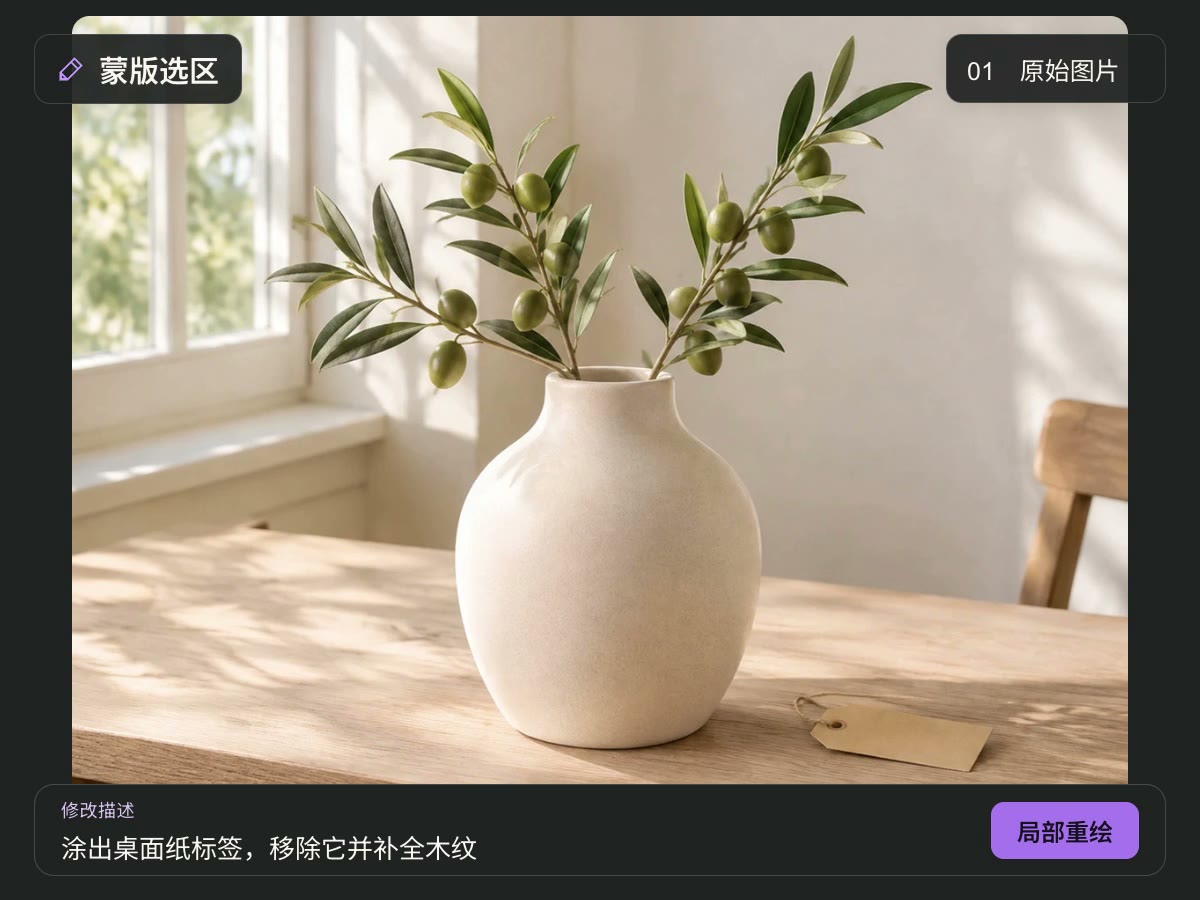 1
Upload your original image
Start with a product image, photo or AI artwork. A clear source makes the edit easier to judge.
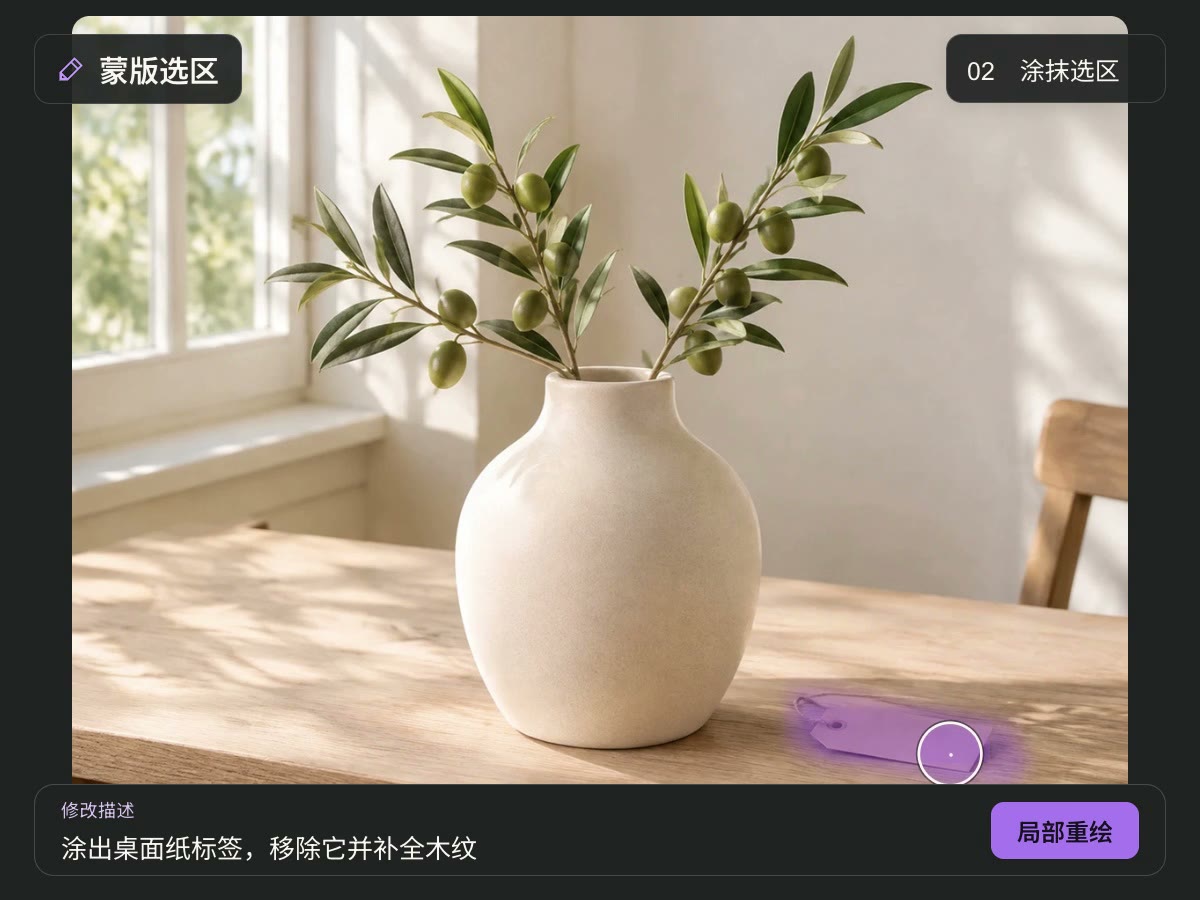 2
Mask the area and describe the change
Mark what you want to repaint. Explain what to replace, add or adjust, and describe the features you want to preserve.
- 3
Generate and review the result
Review output settings and the credit estimate before generating. Check edges, subject details and text, then download if satisfied.
Focus your edit on the part that needs attention
Use a mask to define your editing target
Paint over the area you want to change so your target is clear. A selection can organize anything from a small distraction to a local object or background adjustment.
Start AI inpainting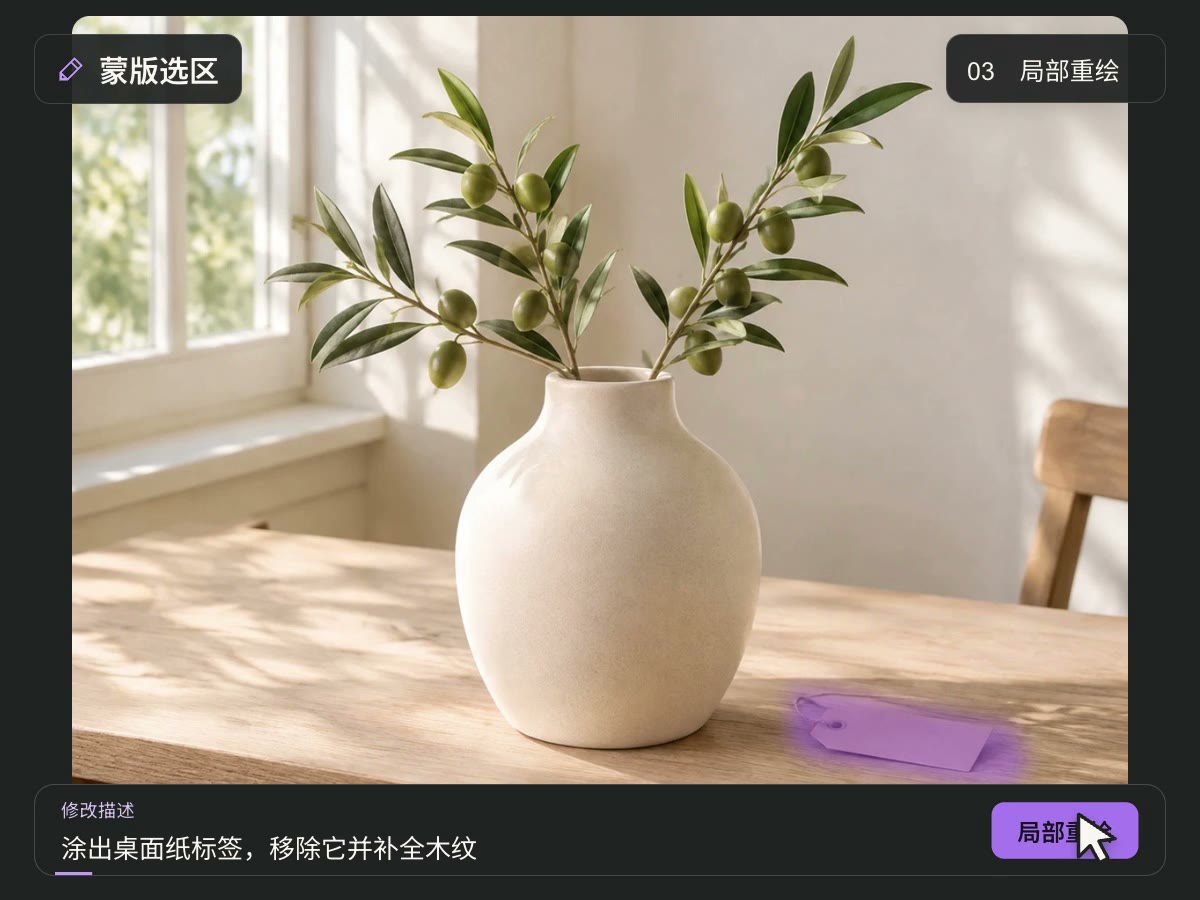
Let the source and your prompt work together
Use the image as a visual reference and describe the desired object, material, color and light. Specific instructions reduce ambiguity; one focused goal makes results easier to compare.
Start AI inpaintingContinue your existing visual direction
Start from the existing composition and describe the subject and style you want to keep. Generative edits can still change details, so review content both inside and outside the selection.
Start AI inpaintingAn existing image can hold a new local idea
Make a targeted edit using a source image, mask and prompt. Choose the area and direction, then judge whether the generated result fits your intended use.
Source image as a visual reference
Continue from an existing image, ideally a clear version without repeated compression.
Mask the target area
Mark the area to edit and avoid covering important details that do not need a change.
Describe your goal in natural language
Specify the object, desired appearance and features to preserve for a clearer instruction.
Review before using the result
Check transitions, lighting, text and subject features before deciding to download and use it.
AI image inpainting questions
What is AI image inpainting?
Inpainting uses a source image, a mask and a text prompt to attempt new content in a specified area. Use it for a targeted edit to an existing visual. To create a whole image from scratch, try AI image generation.
What do I need before starting?
Prepare a source image, mask the area you want to change and write a prompt. Describe the target object, color, material and light, along with the subject and style you want to keep.
How should I choose the mask area?
Cover the area to repaint and pay attention to object outlines and adjacent backgrounds. Avoid important text, logos or subject features that should stay. Review edge transitions after generation and adjust the selection if needed.
What makes a clear editing prompt?
Name the editing target first, then the desired result. For example: “Replace the vase in the selected area with a white ceramic vase, keeping the table and original lighting.” One focused goal is easier to review than many unrelated changes at once.
Will unselected areas stay exactly the same?
The mask communicates the editing area, and your prompt can ask to preserve original content. Generative AI cannot guarantee identical pixels. Compare details inside and outside the selection, especially faces, text, product features and logos.
Can I replace a background or change a local object?
Select the target area with a mask and describe what to replace or adjust. Results depend on the source, selection and instruction. Complex structures, transparent materials and small text may need additional attempts and manual review.
Is it useful for product images and advertising?
You can explore backgrounds, decoration and local creative directions. Before publishing, verify product color, shape, materials, packaging text and logos so the asset accurately represents the real product.
Can I edit an AI-generated image?
Upload existing AI artwork and specify the change with a mask and prompt. Structural or detail errors in the source may not resolve automatically, so make the target explicit in your selection and instruction.
Does generation use credits?
Generation requires credits. Check the cost estimate, available output settings and account balance before starting. The current page shows the applicable cost.
What should I change if the result is not right?
Check that the mask covers the target, simplify your prompt and specify what to preserve. Adjust one factor at a time to understand its effect. Review the completed result before saving it with the download control.
Explore more AI image tools
Edit Image Text
Recognize existing text in your image and replace it line by line.
AI Image Upscaler
Prepare a clearer output of an image you like.
AI Object Remover
Brush over an unwanted object to remove it and reconstruct the background in its place.
AI Image Gen
Create a new image from a text description.
Your image is one brushstroke away from a new version.
Upload the original, paint over the area, describe the change. The AI repaints only that spot — review it next to your source.
Start AI inpainting